
Apache Kafka - CData Driver
Setup Guide
Follow these steps to connect Apache Kafka to your CData Virtuality account:
In the Web UI, open the Sources page:
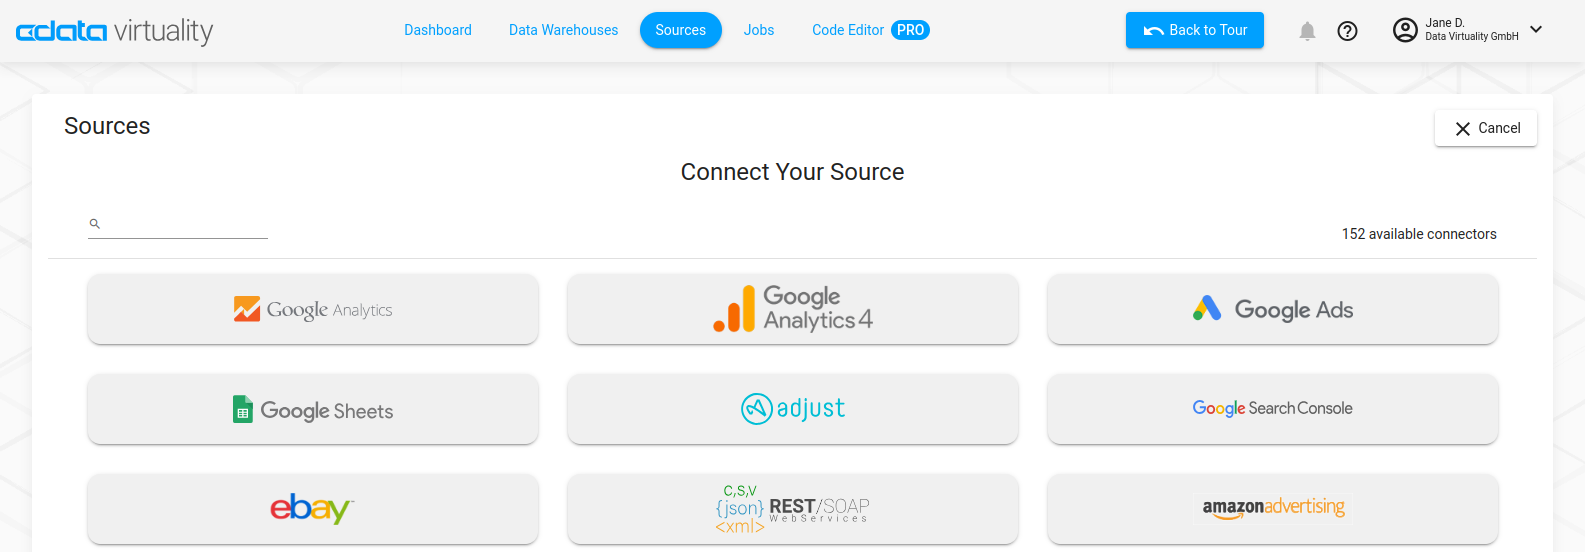
Type Apache Kafka into the search field, then click the data source button.
On the Basic Settings tab of the new connection, enter a connection name or keep the default name.
Select the Authentication method, then proceed to the relevant section and follow those instructions.
Authentication Methods
Plain, SCRAM, SCRAM-SHA-512
Enter your Apache Kafka username.
Enter your Apache Kafka password.
Kerberos
Enter the service principal name (SPN) for the Kerberos Domain Controller.
Enter the name of the Kerberos service you want to authenticate with.
Enter the keytab file containing your pairs of Kerberos principal and encrypted key OR
Set User Kerberos Ticket Cache to true if you want to use a ticket cache with the logged in user instead of a keytab file.
SSL Certificate
Enter the SSL client certificate used to connect to the Apache Kafka broker.
Select the SSL client certificate type: JKSFILE, PFXFILE, PEMKEY_FILE, or PEMKEY_BLOB.
Enter the SSL client certificate password used to decrypt the certificate.
AzureAD, AzureServicePrincipal, AzureServicePrincipalCert
Enter the Azure Tenant - Microsoft Online tenant being used to access data. If not specified, your default tenant is used.
Set the Initiate OAuth property to initiate the process to obtain (GETANDREFRESH) or refresh (REFRESH) the OAuth access token when you connect. Set the property to OFF if you do not want to obtain or refresh the OAuth access token when the connection is initiated.
Enter the OAuth client ID assigned when you have registered your application with an OAuth authorization server.
Enter the OAuth client secret assigned when you have registered your application with an OAuth authorization server (not required for AzureServicePrincipalCert).
AzureMSI
No information needed.
More Information
For more information about interactions between CData Connect and Apache Kafka, see this information page.