On-premise: Installing on Windows
This guide provides instructions for installing the CData Virtuality Suite (a special all-in-one installation package) on a standalone Windows Server environment. It covers the installation of the following components:
CData Virtuality Server (Version 4.6)
ODBC / JDBC Driver
CData Virtuality Studio
Additionally, this guide includes instructions for license authentication and accessing CData Virtuality via the Web UI.
To obtain the Windows version of CData Virtuality and a licence, please contact our sales team.
Installing the CData Virtuality Server
Prepare the CData Virtuality installer file (e.g. CData Virtuality Suite-RELEASE_4.x-unlic.win.x86_32_64.zip) on your Windows Server machine and extract the file.
Locate the executable file (e.g. CData Virtuality Suite-RELEASE_4.x.win.x86_32_64.exe) in the extracted file.
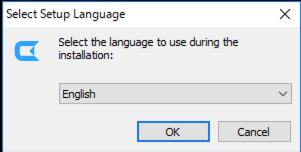
Run the executable file to launch the installer. Select your preferred language - English (default) or German (Deutsch). This guide will proceed with the default language, English:
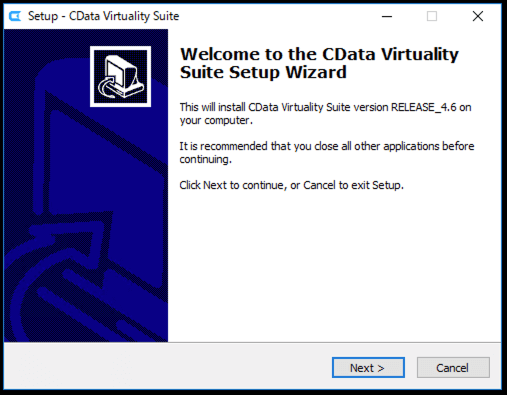
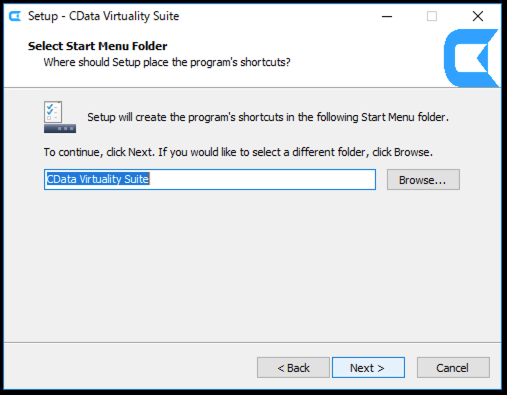
Follow the wizard to proceed with the installation:
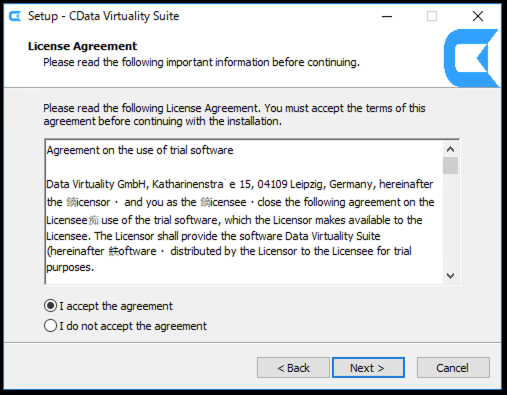
Review the License Agreement and proceed:
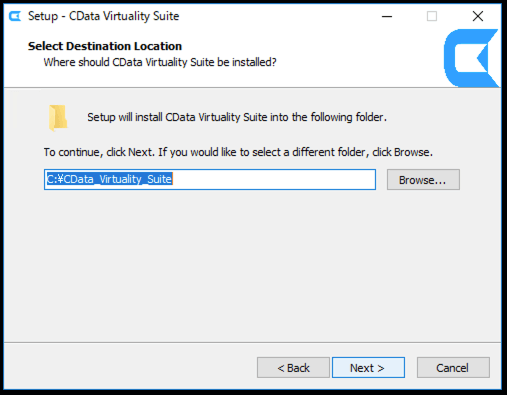
Select the destination location:
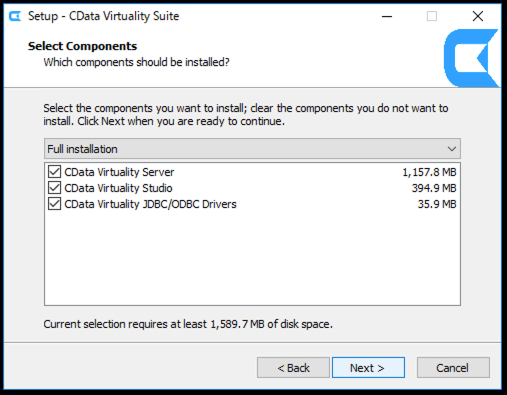
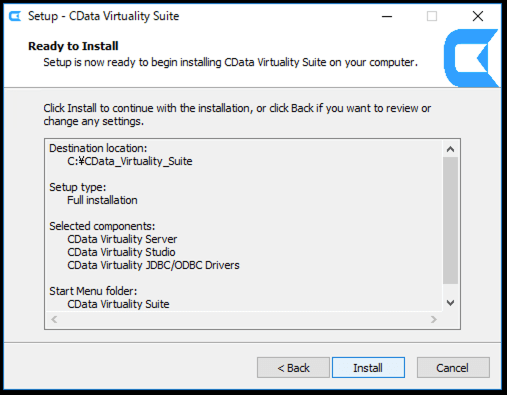
This guide will proceed with the default full installation, which includes CData Virtuality Studio, CData Virtuality Server, and JDBC/ODBC Drivers. Follow the steps provided in the wizard to complete the set-up of the CData Virtuality Server:
Installing the ODBC Driver
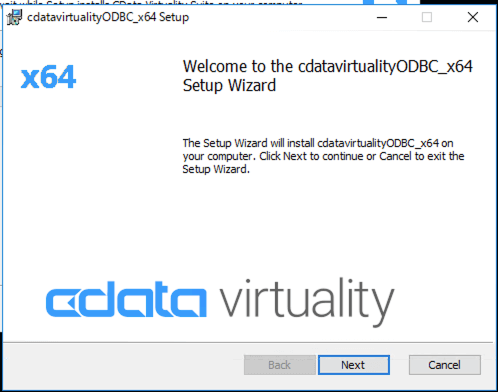
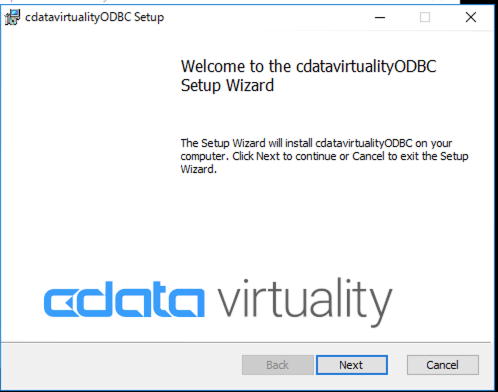
Once the CData Virtuality Server installation is complete, the ODBC Driver installer for 64-bit will launch:
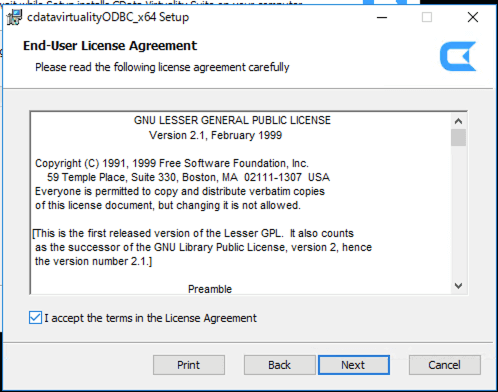
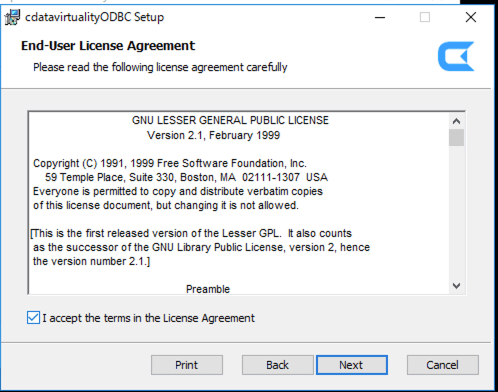
Accept the License Agreement and proceed:
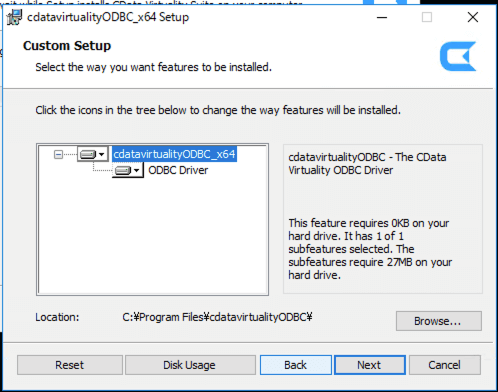
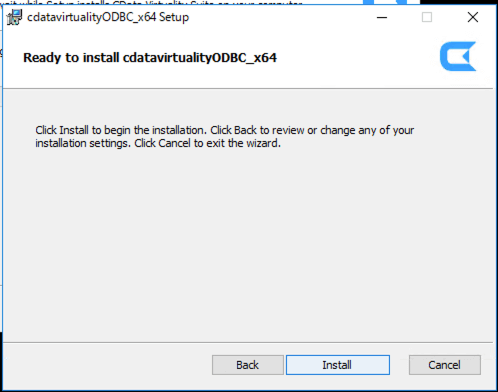
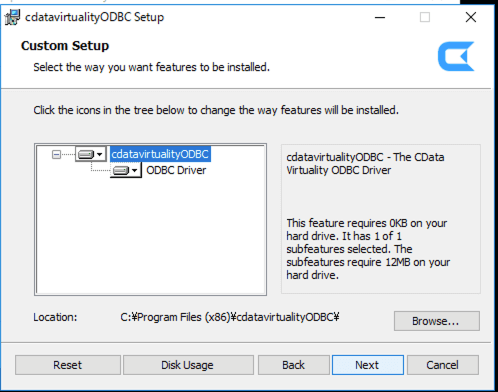
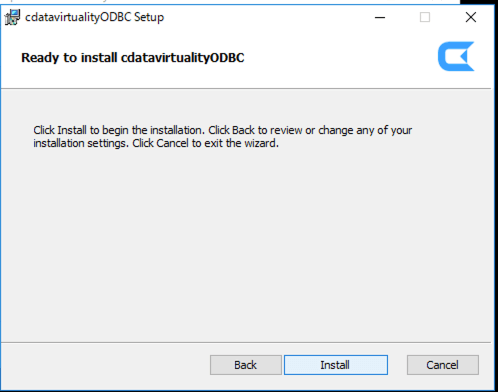
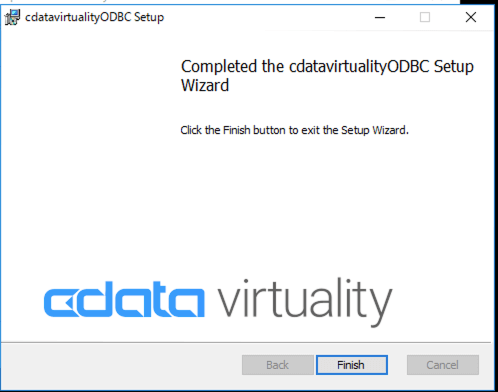
Follow the next steps to complete the set-up of the 64-bit ODBC Driver:

Once the installation of the 64-bit ODBC Driver is complete, the installer for the 32-bit ODBC Driver will launch:
Accept the License Agreement and proceed:
Follow the next steps to complete the set-up of the 32-bit ODBC Driver:
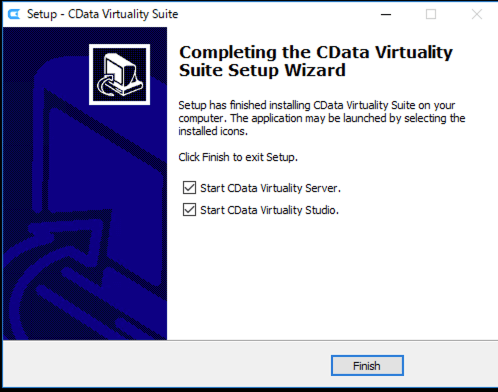
Once the installations of the CData Virtuality Server and ODBC Drivers are complete, the checkbox Start CData Virtuality Server and Studio will be selected by default. Click the Finish button to exit the set-up wizard and launch the application:
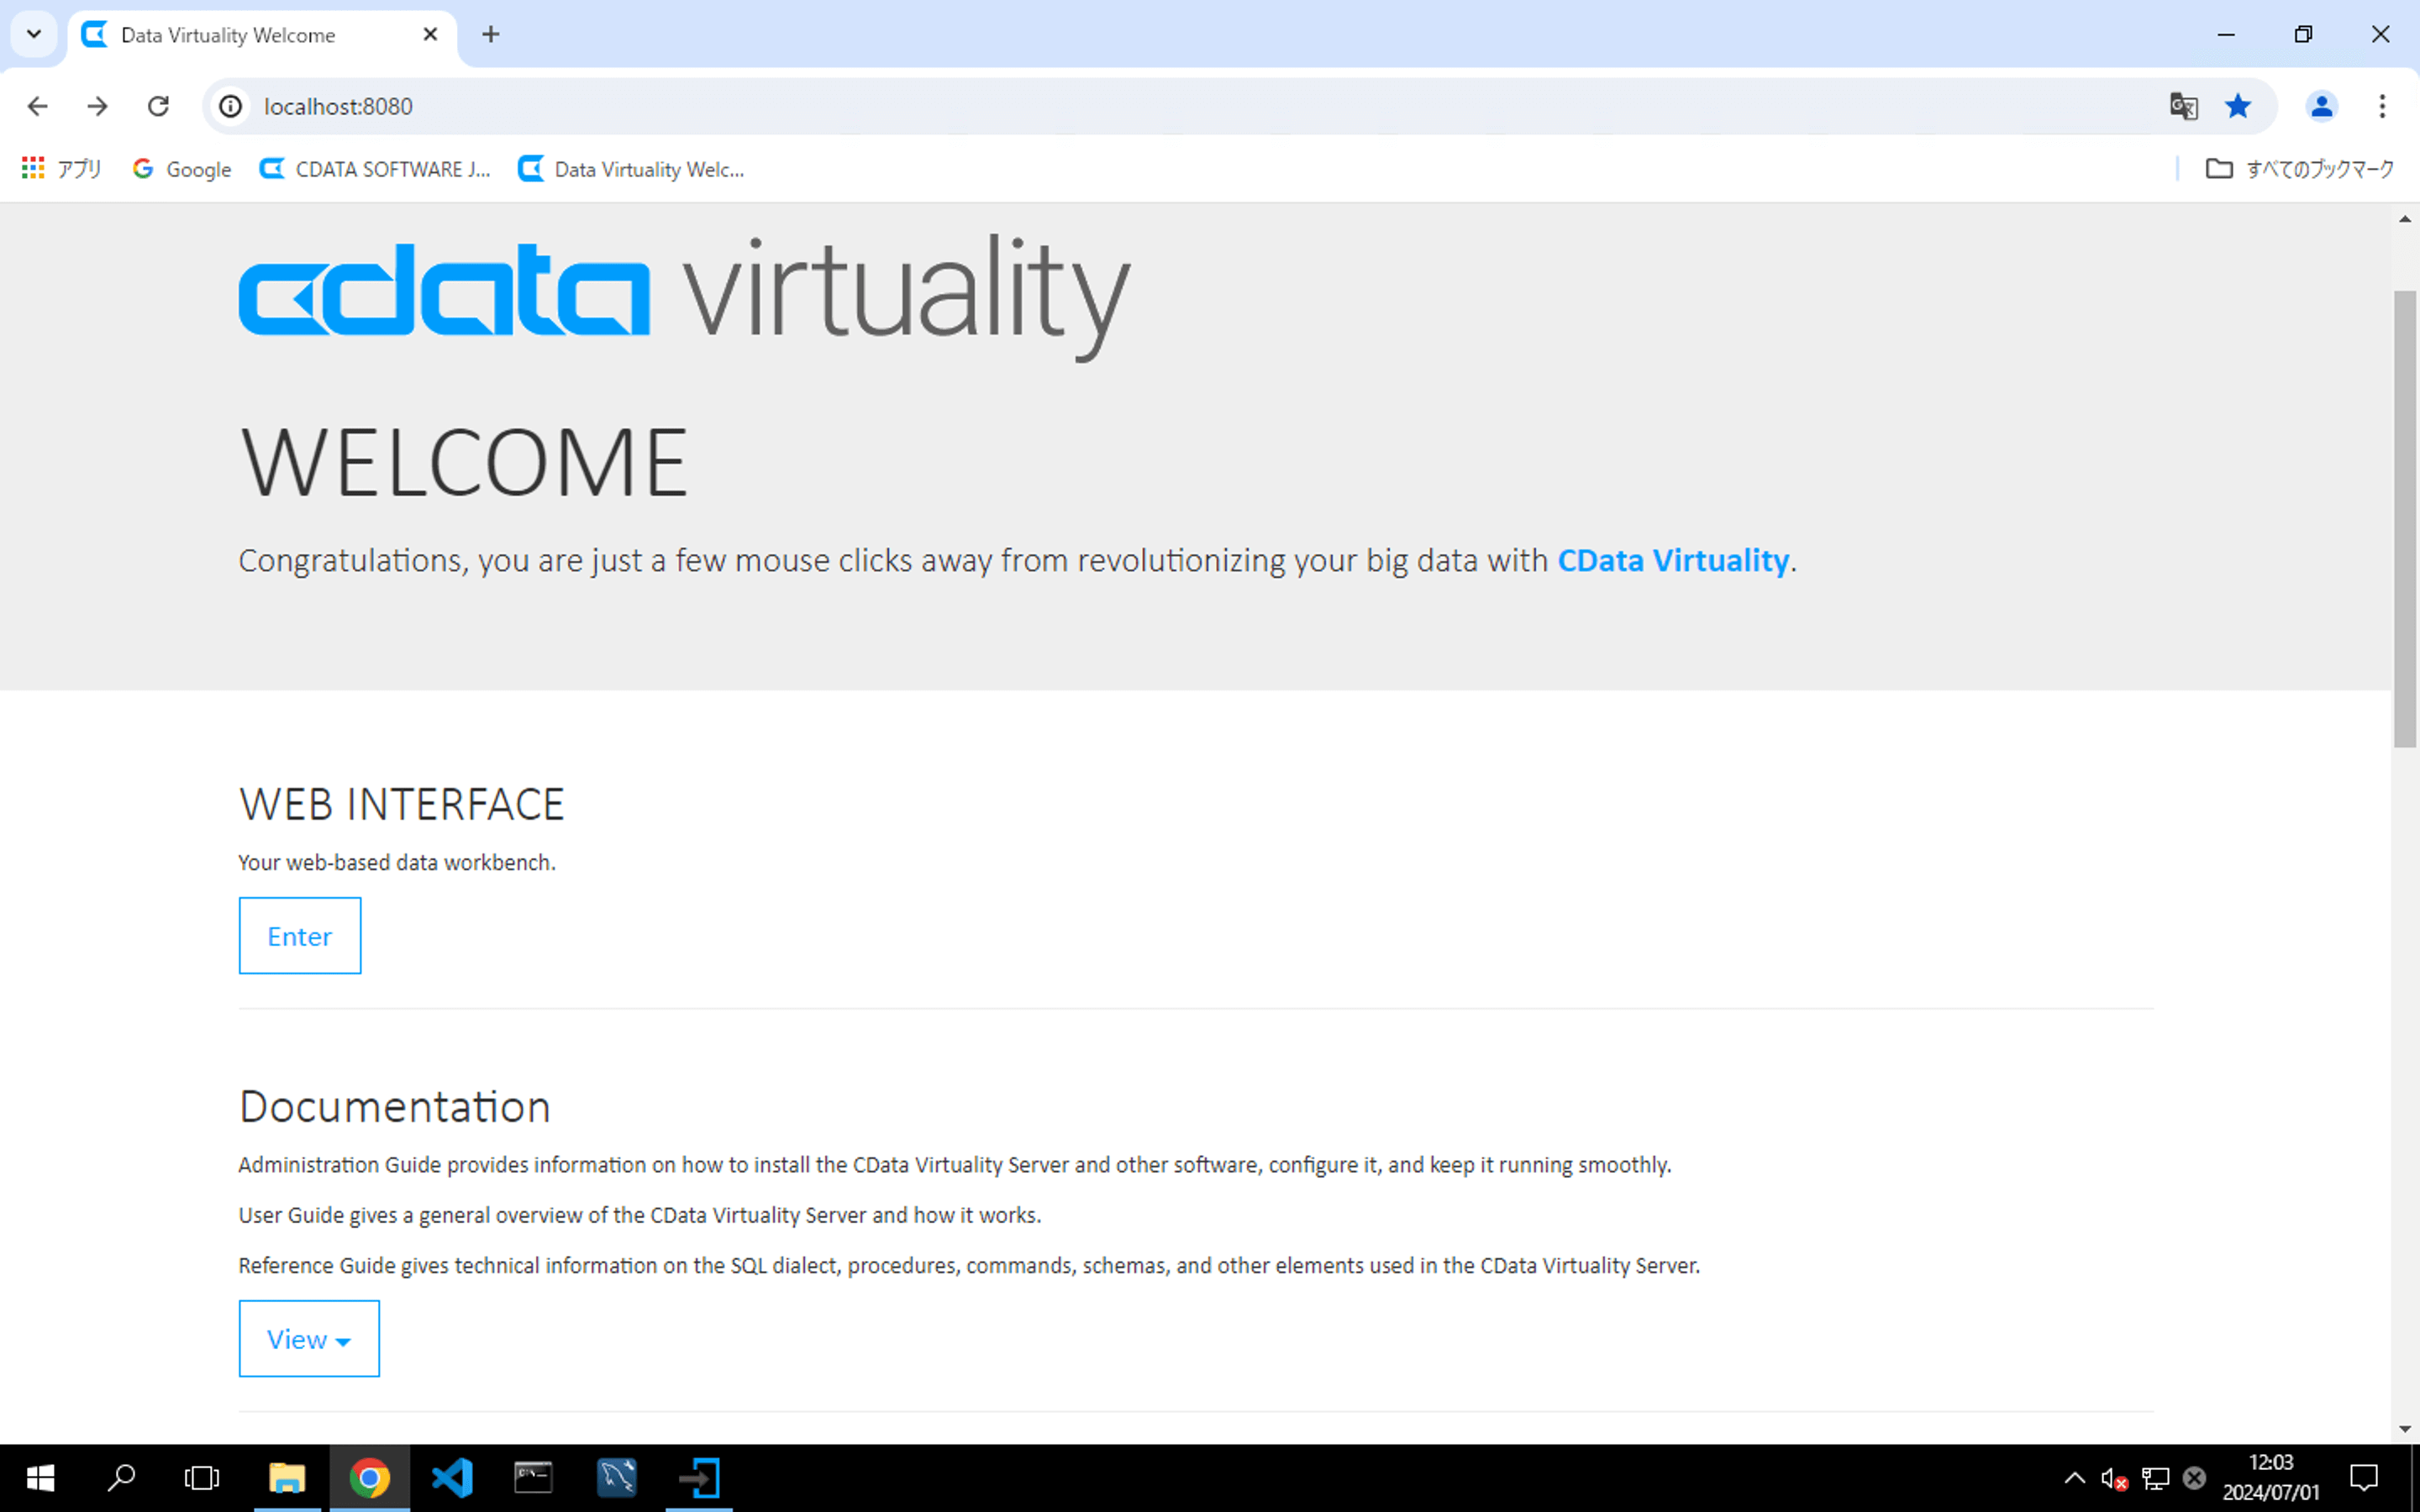
After a successful installation, the following WELCOME screen will appear when you open a web browser and navigate to http://localhost:8080/:

Installing the JDBC Driver
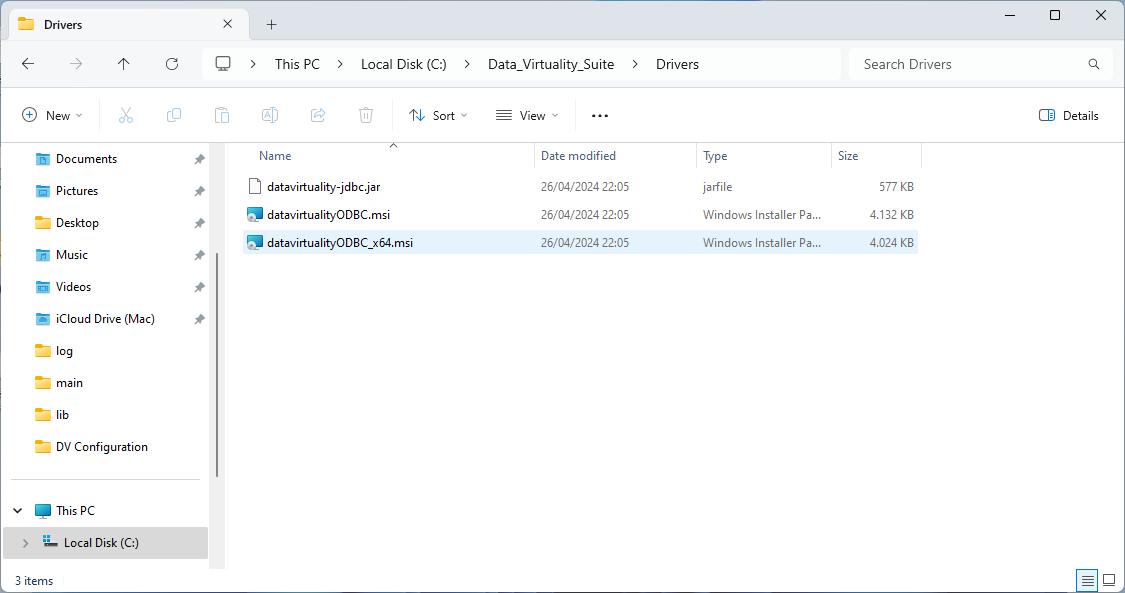
The JDBC Driver is stored in the Drivers folder of the CData_Virtuality_Suite installation folder. The file name is datavirtuality-jdbc.jar:
License Authentication
By default, a 14-day trial license is activated. To activate a full version license, follow the instructions provided below.
Start your web browser and navigate to http://localhost:8080/.
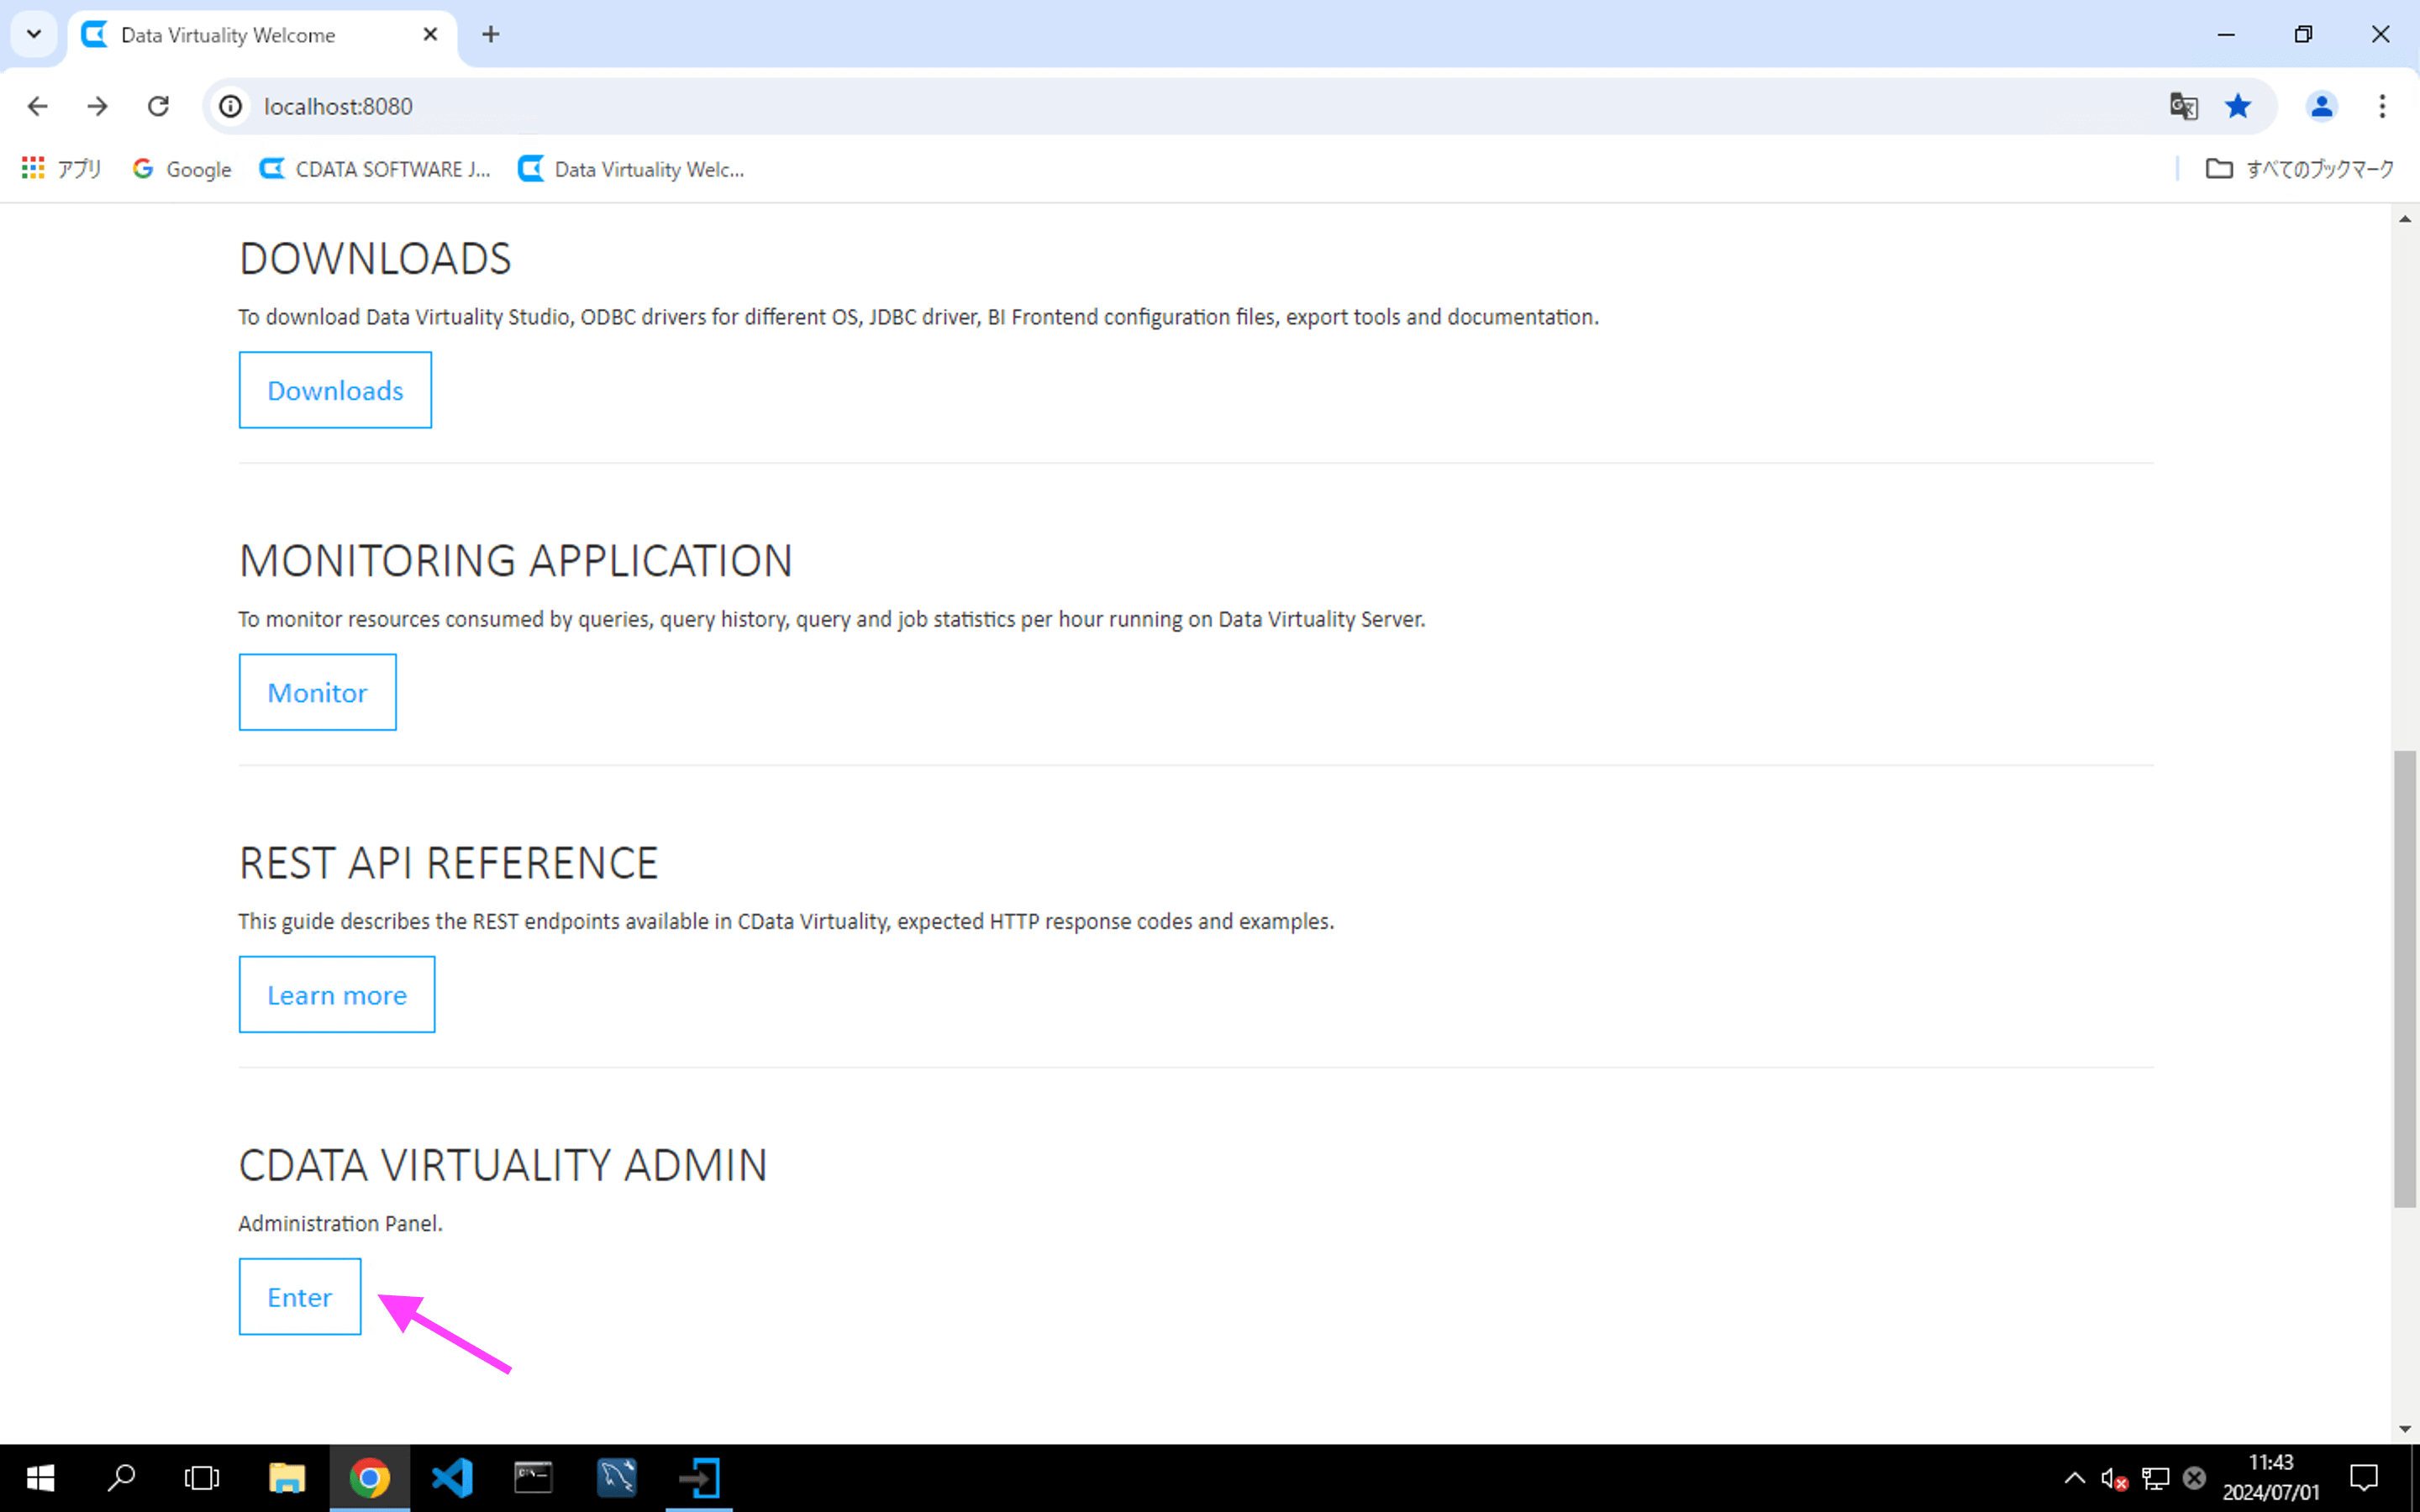
On the WELCOME screen, click CDATA VIRTUALITY ADMIN to begin the licence activation process:
When the login screen opens, log in with the following user name and password:
User name: admin (default)
Password: admin (initial password)
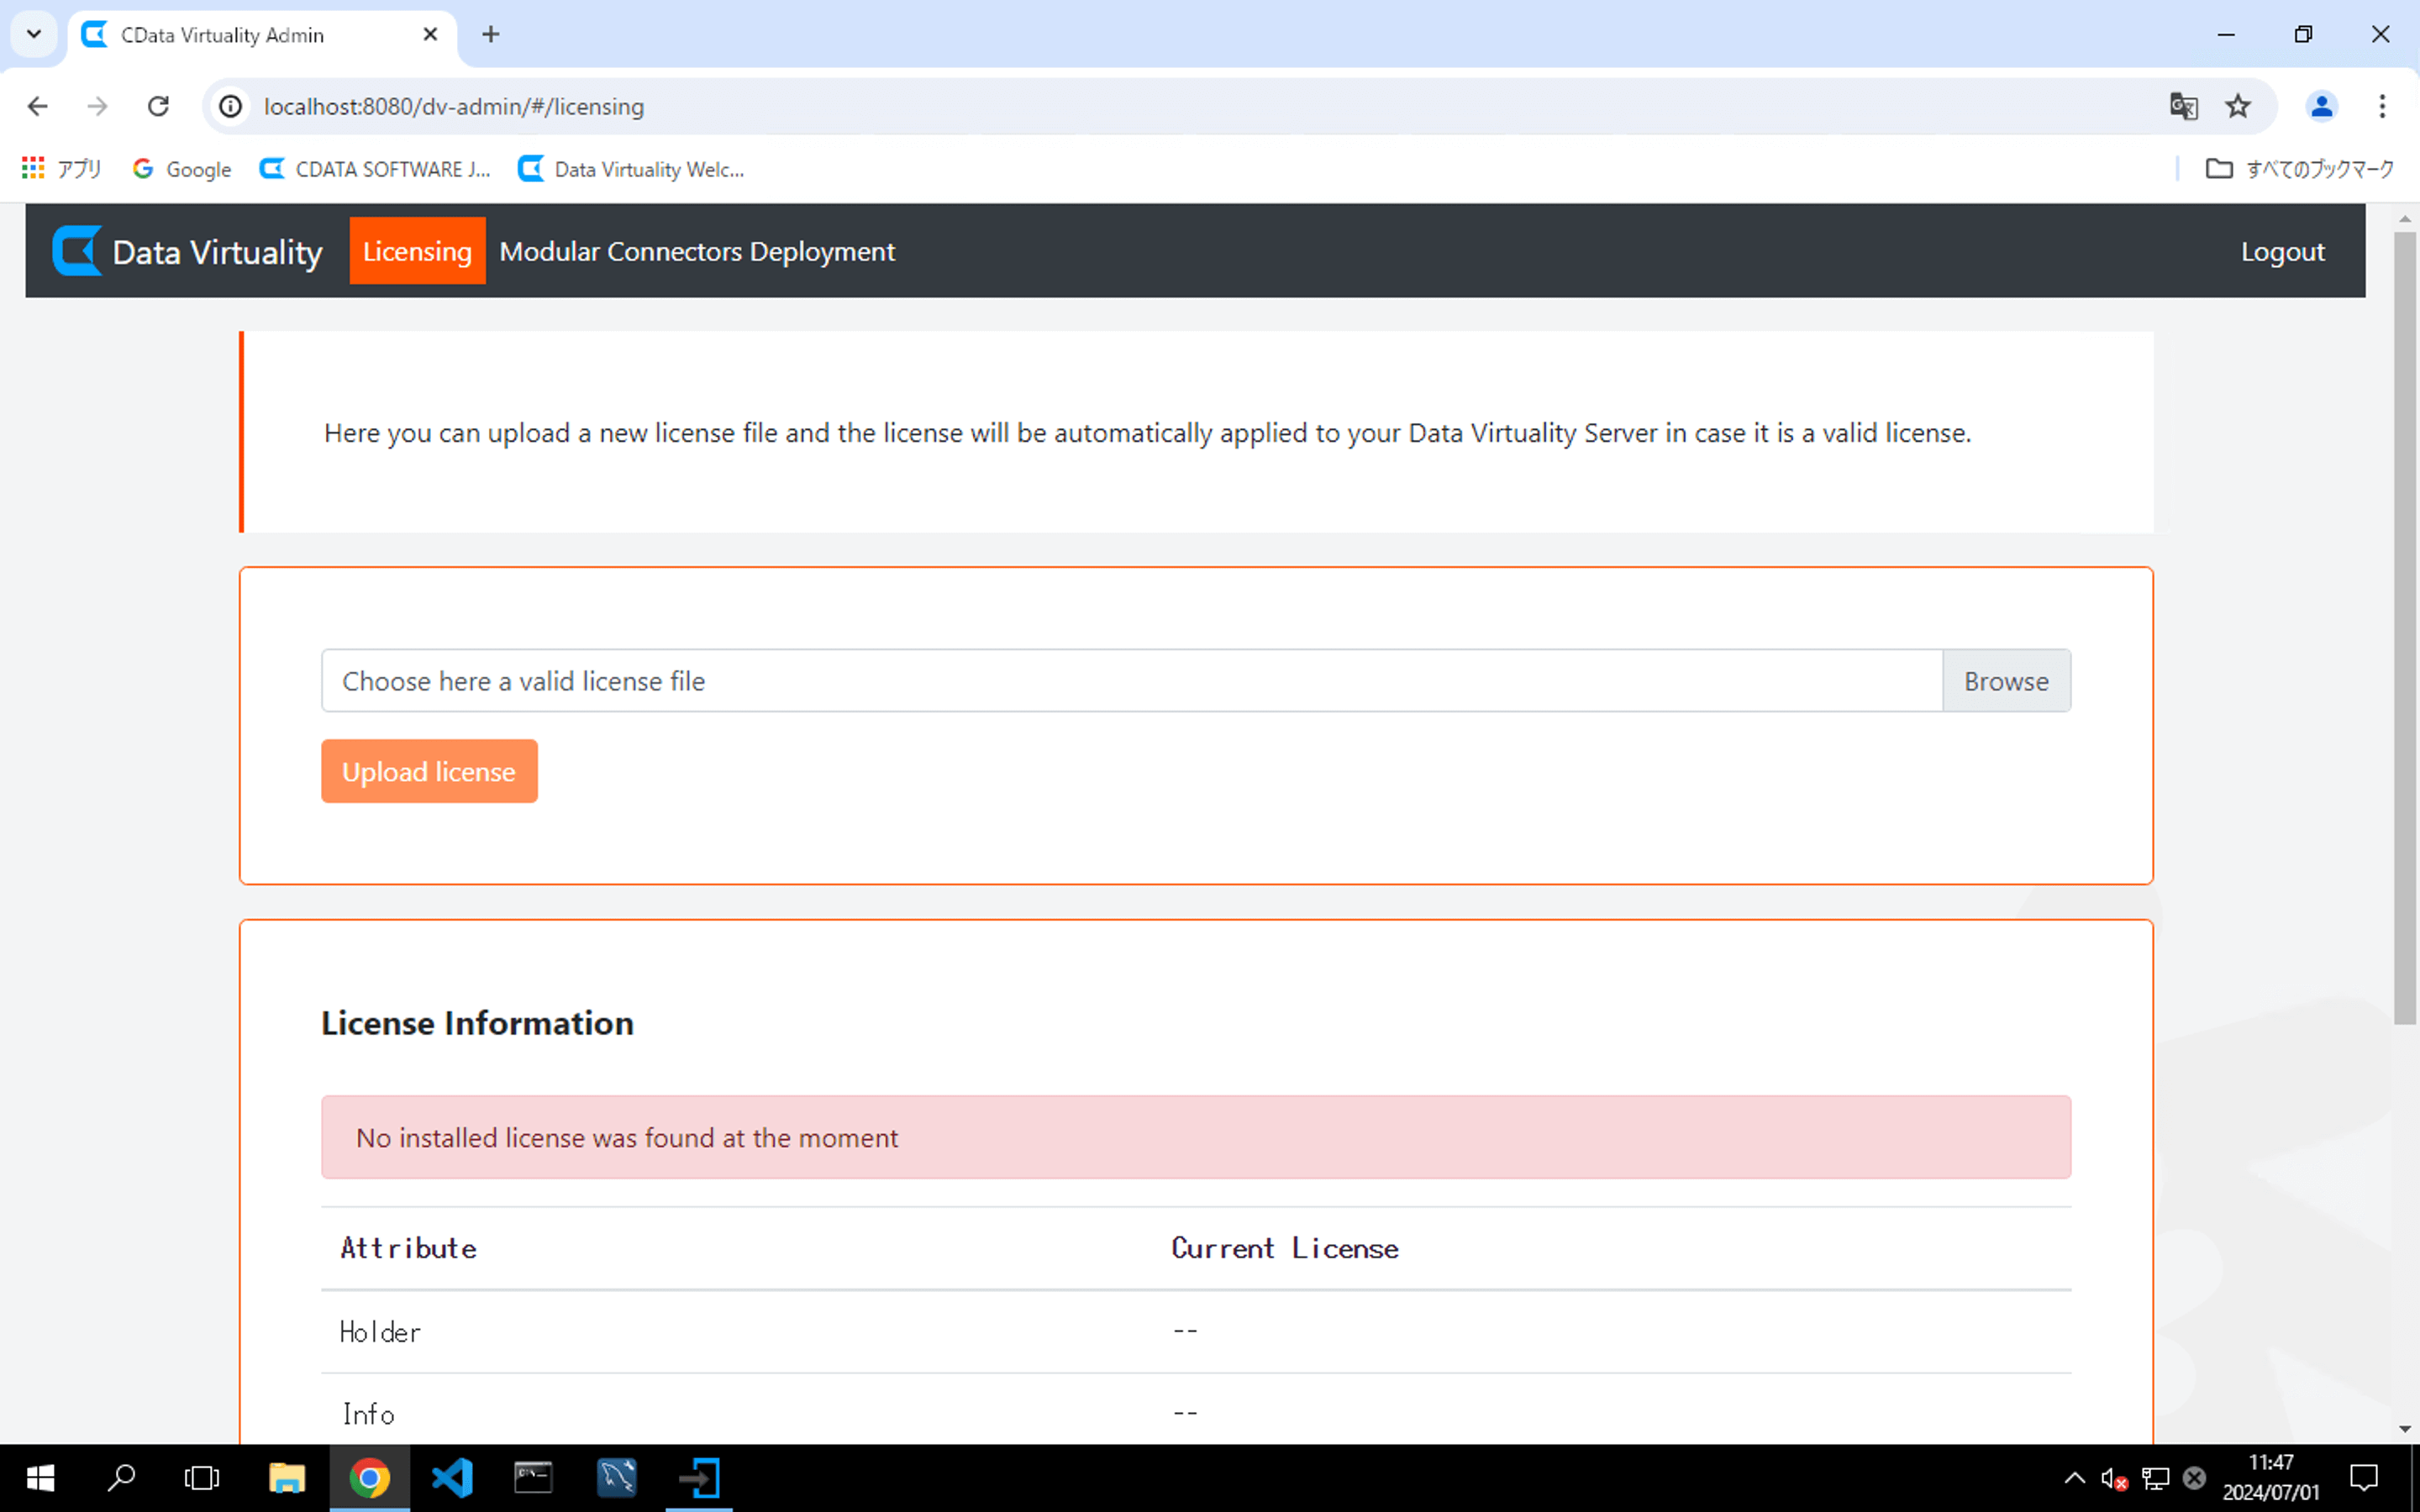
Select a license file (.lic) using the Browse button on the right and click the Upload license button:
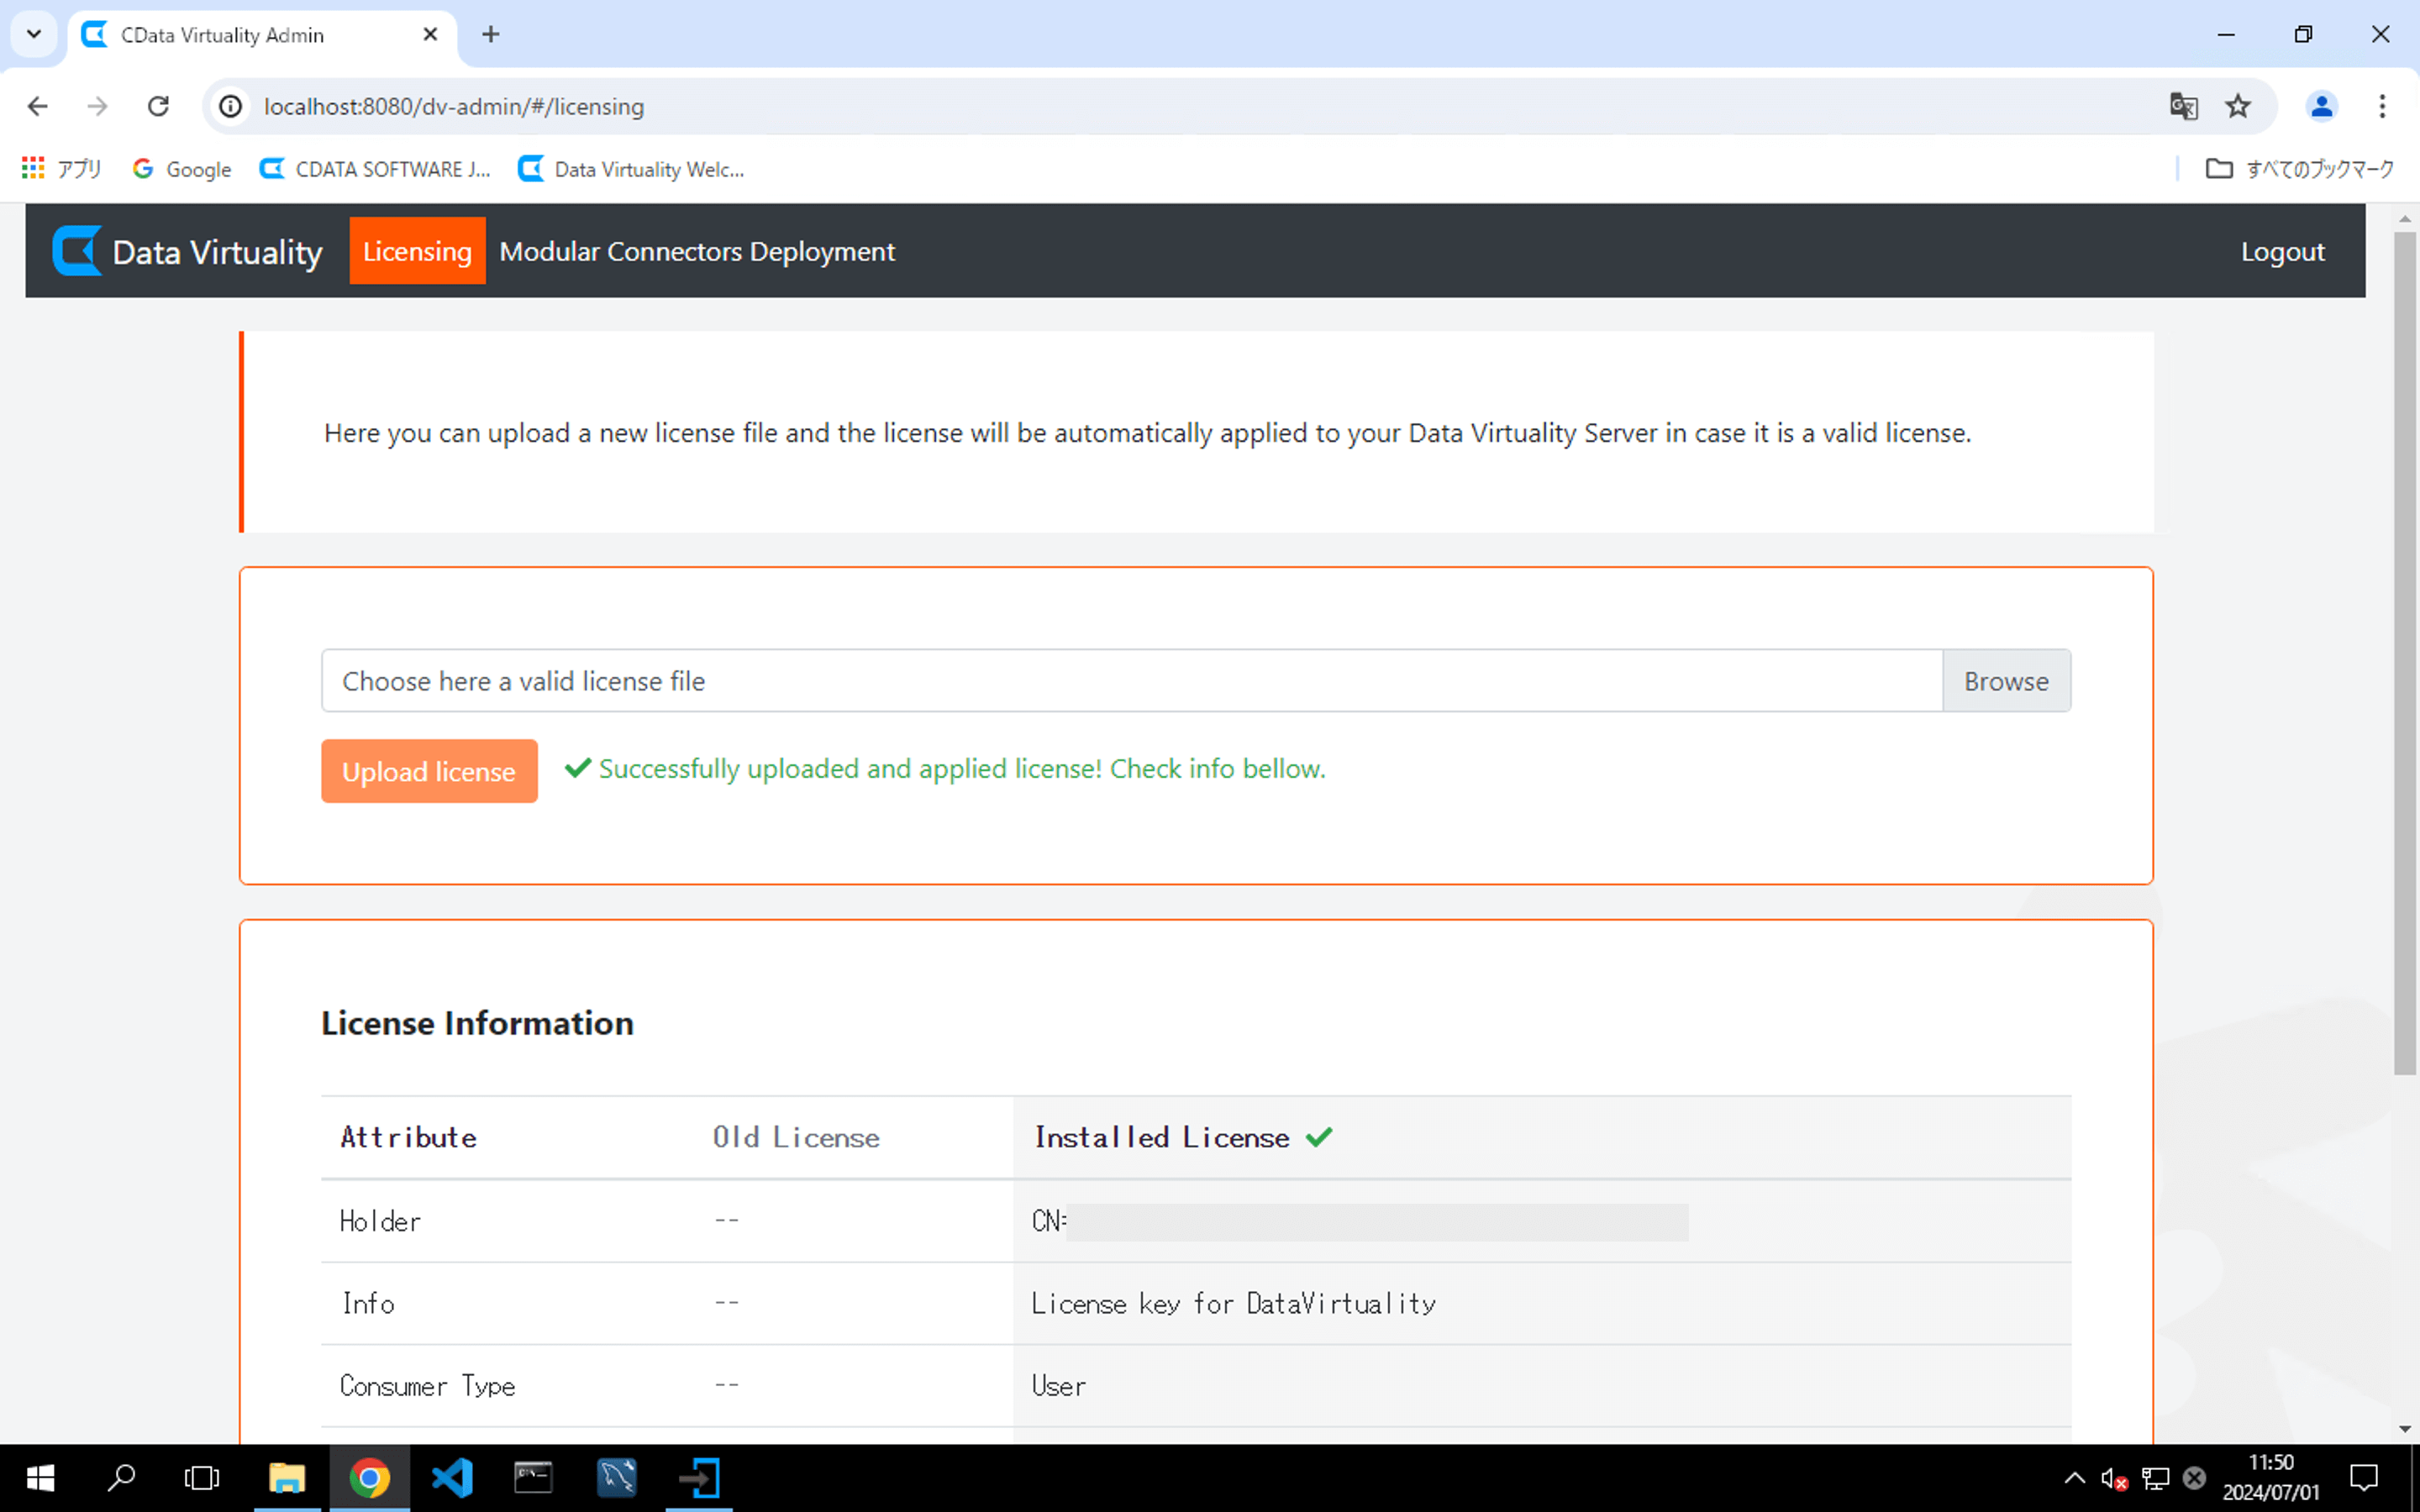
If the license is successfully verified, the message Successfully uploaded and applied license! Check info bellow will appear. Detailed license information will then be displayed under the License Information section. To exit CDATA VIRTUALITY ADMIN, click the Logout button located in the upper right corner of the screen:
Accessing CData Virtuality via the Web UI
Start the web browser, go to http://localhost:8080/, and open WEB INTERFACE in the WELCOME screen:
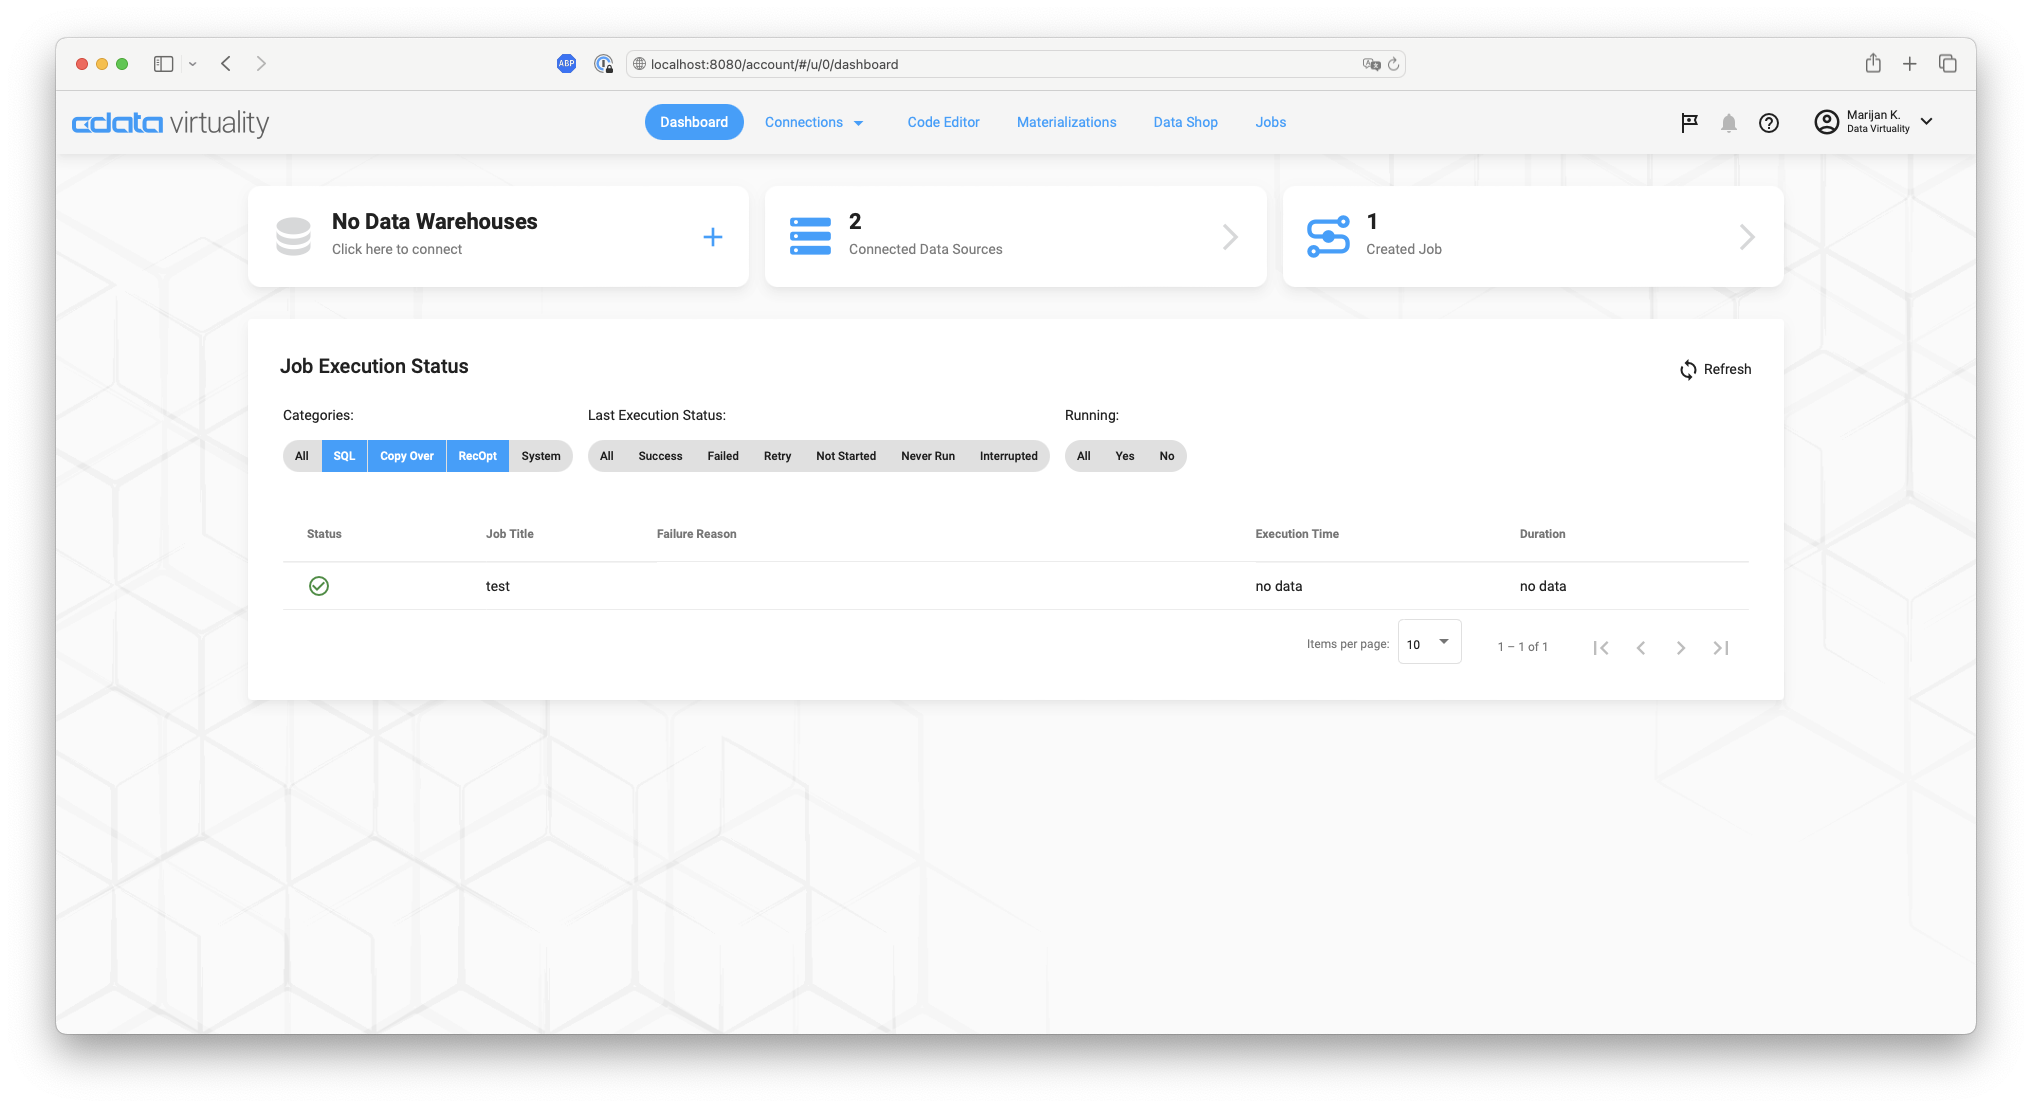
The CData Virtuality Web UI will open, displaying the Dashboard screen as the default view:
Accessing CData Virtuality via the Studio
From the Programs menu, navigate to CData Virtuality Suite and open CData Virtuality Studio. The Connect to CData Virtuality Server window will appear:
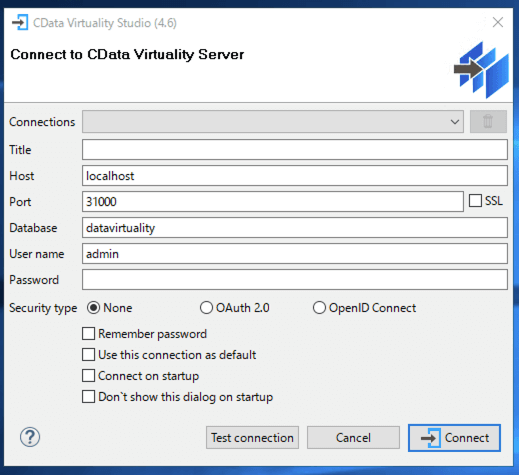
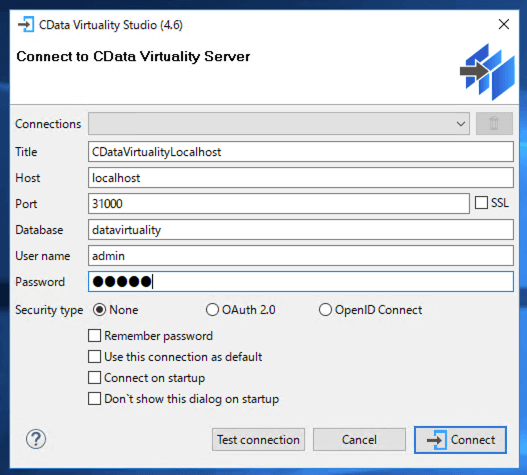
In the Connect to CData Virtuality Server window, configure the following settings and click the Test connection button:
Title: any
Host: localhost (default)
Port: 31000 (default)
Database: datavirtuality (default)
User name: admin (default)
Password: admin (initial password)
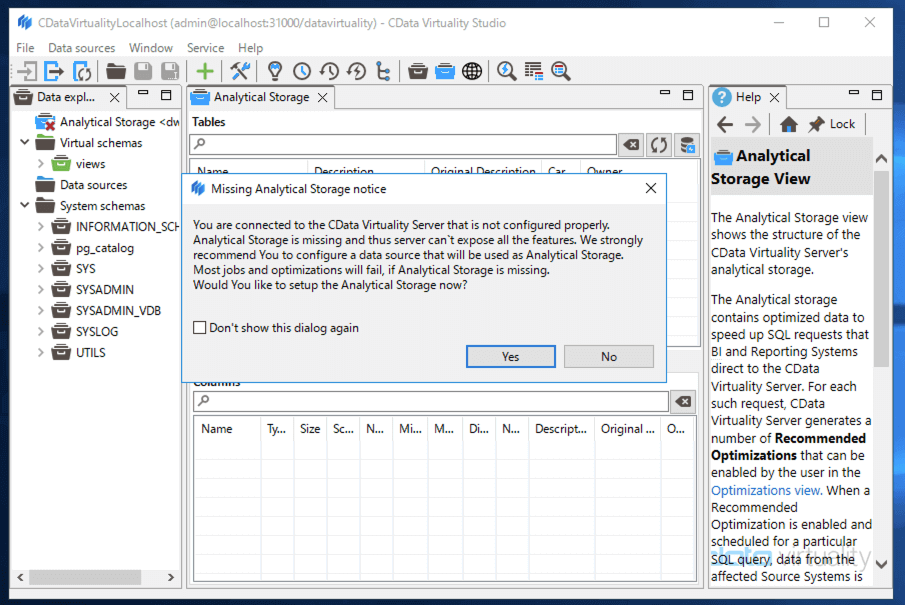
CData Virtuality Studio will launch and display a notice indicating that the Analytical Storage was not found: