
Connecting Your Data Sources
Follow the step-by-step instructions below to connect data sources to get started with CData Virtuality. If data sources are not available, please refer to Setting Up and Connecting Sample Data.
In SaaS, open the CData Virtuality Web UI.
In the on-premise version, start the web browser, go to http://localhost:8080/, and open WEB INTERFACE in the WELCOME screen.
Next, do the following:
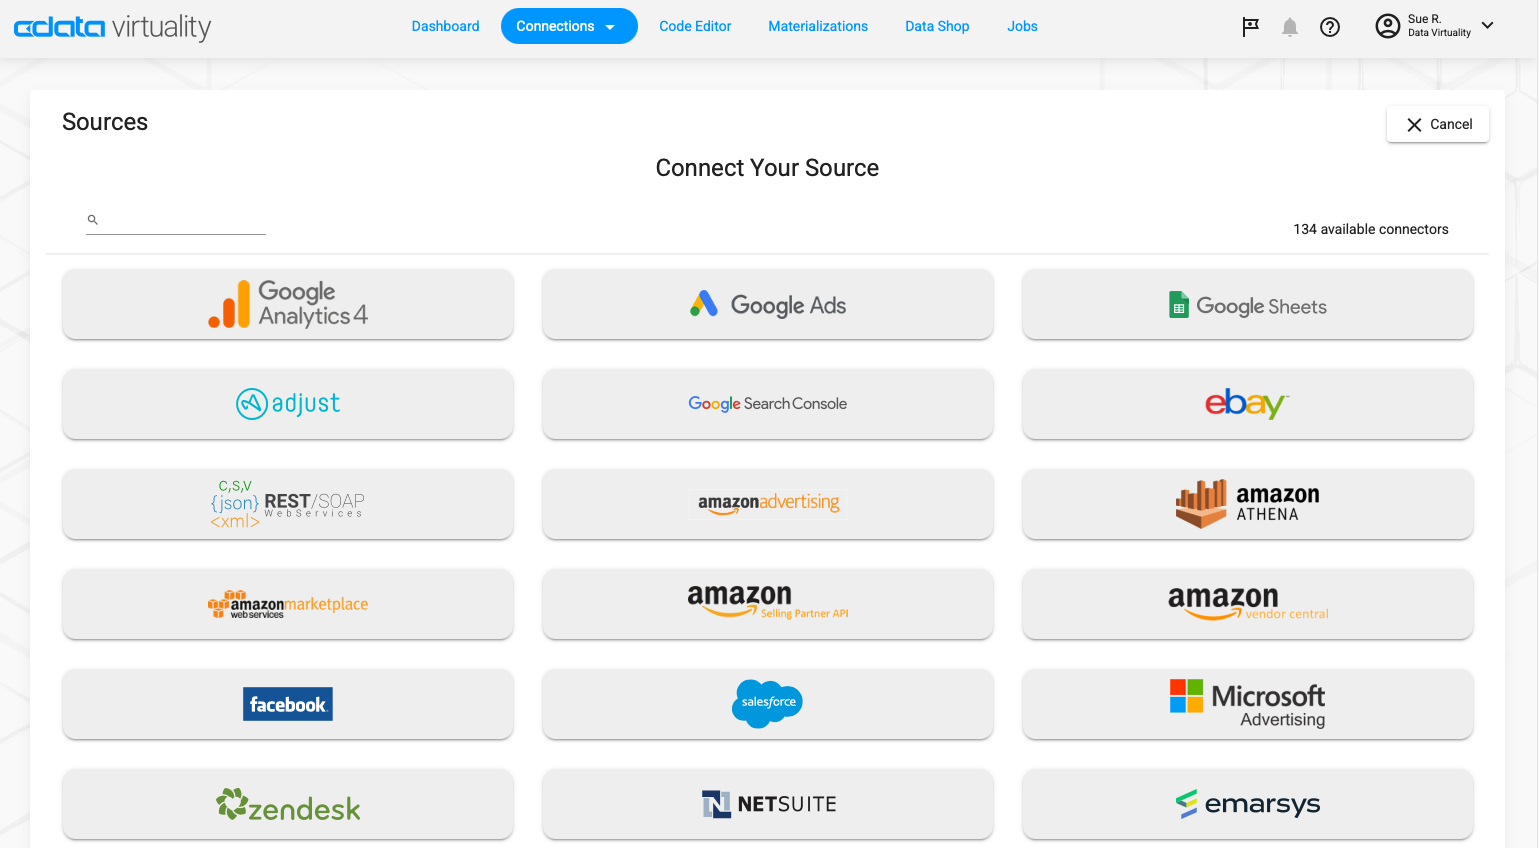
In the CData Virtuality Web UI, navigate to the Connections tab and select Sources. Click on +New Sources and select the data source you would like to connect:
Fill in the information and click on Connect (this example uses PostgreSQL):
.png?inst-v=b7cca245-8ad0-4916-9770-6aae808a8d96)
To verify the connection, check the Sources tab under Connections:
.png?inst-v=b7cca245-8ad0-4916-9770-6aae808a8d96)